22
Jun 2015
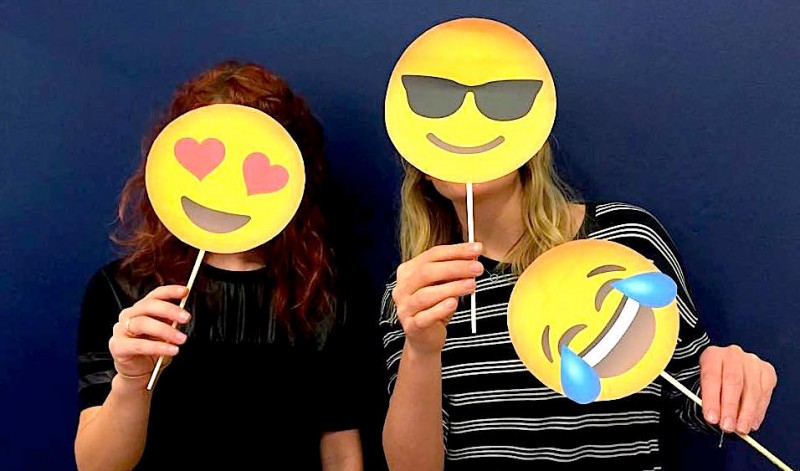
Pimp your Party with DIY Props
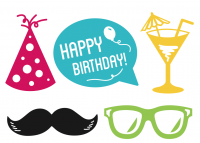
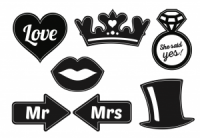
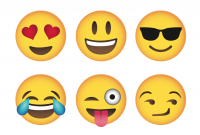
These do-it-yourself props are the perfect addition to mix and match with our prop boxes! Your guests will LOVE the personal touch of some DIY props to add to their sparkly wigs, crazy glasses and feather boas, so to get you started we’ve designed these awesome prop packages for you to print at home. We’ve got funky birthday party props, elegant wedding props and our personal favourite, the very expressive emoji pack. Got a few design skills up your sleeve? Why not design your own and follow these simple steps to personalise your photo booth props!
Try our DIY props first by downloading one of the packages below then follow these simple instructions:
You will need
Colour printer
Glue
Scissors
Thick cardboard
Wooden sticks (chopsticks work too!)
Masking tape
Colour printer
Glue
Scissors
Thick cardboard
Wooden sticks (chopsticks work too!)
Masking tape
Now Do-It-Yourself!
1. Download your Prop design packages.
2. Print your props onto A4 paper or card using a trusty colour printer.
3. Paste them onto your cardboard or thicker card to ensure they last throughout your event.
4. Put those handy craft skills to good use – cut out your props!
5. Using the wooden sticks and some masking tape, put your props together and voila, you’re a DIY genius!
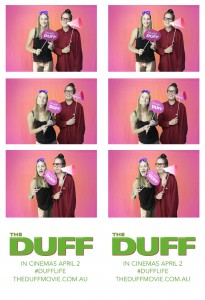 If you think these sound pretty rad, but you’re stuck for time, Photosnap can custom design and create props for you. We’ve created props to reflect company logos, mascots, and products. Just check out the awesome donuts we had at the Krispy Kreme launch, and the quotable quips from our movie premier for The DUFF.
If you want to go even further with your corporate or event branding, why not grab a green screen too? Our green screens can be customised to include a background featuring your company logo, image or even let you pose with the bride and groom or your favourite footballer.
Check out some of the events we’ve done in our gallery and contact us directly to get a quote for your next event!
VIEW GALLERY VIEW PACKAGES BOOK NOW